Mobile Gaming Device
Intro#
In 2016, I took a class called Digital Making and Learning that ultimately lead me to the Learn Explore Design Lab. This class was amazing and was where I first read Don Norman’s The Design of Everyday Things. I learned about feedback, signifiers, and many other aspects of human-centered design.
For my final project in the course, I wanted to make a mobile gaming device. I loved my Game Boy Advance when I was younger and wanted to recreate the experience I had with my own modern version. This was before the Nintendo Switch was released, which is the type of device I was dreaming of.
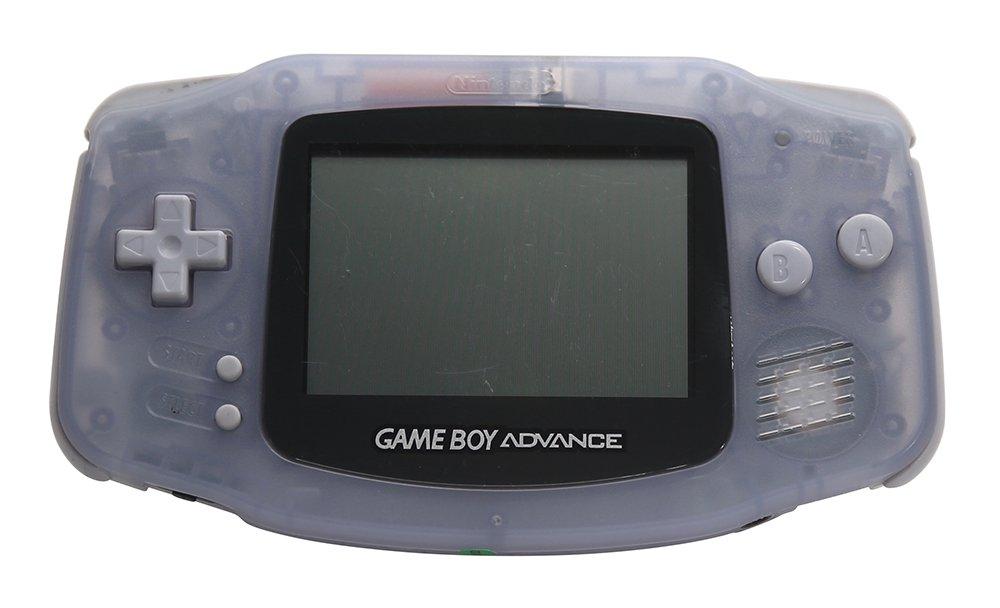
Game Boy Advance in Glacier ↑
The Game Boy Advance’s design is pretty stellar. The device sits perfectly in your hands and all of the buttons are easily accessible. The main issues for me when I used the device were 1) that the screen was not backlit, so you always had to play in a well-lit area, and 2) that you had to purchase games individually and couldn’t download games like you can today. I do, however, appreciate the tactile nature of the game cartidges. There is something satisfying about physically removing a game and cleaning it or replacing it with a different one. In 2016, I thought it made more sense to go to download only.
Another addition that I thought would be interesting would be to incorporate a makey makey, so that the buttons on the project didn’t actually have to click in and would respond as soon as you touch them. If your curious about what you can do with a makey makey, check out the video below.
We learned how to use these devices in class and our final project had to incorporate one of the technologies we had learned, so I decided on the makey makey.
Prototype#
Before all of my components I ordered for the project arrived (except for the screen), I created this prototype out of two empty DVD cases. I assumed I would be able to fit all of the components inside since it is significantly bigger than a Game Boy Advance.
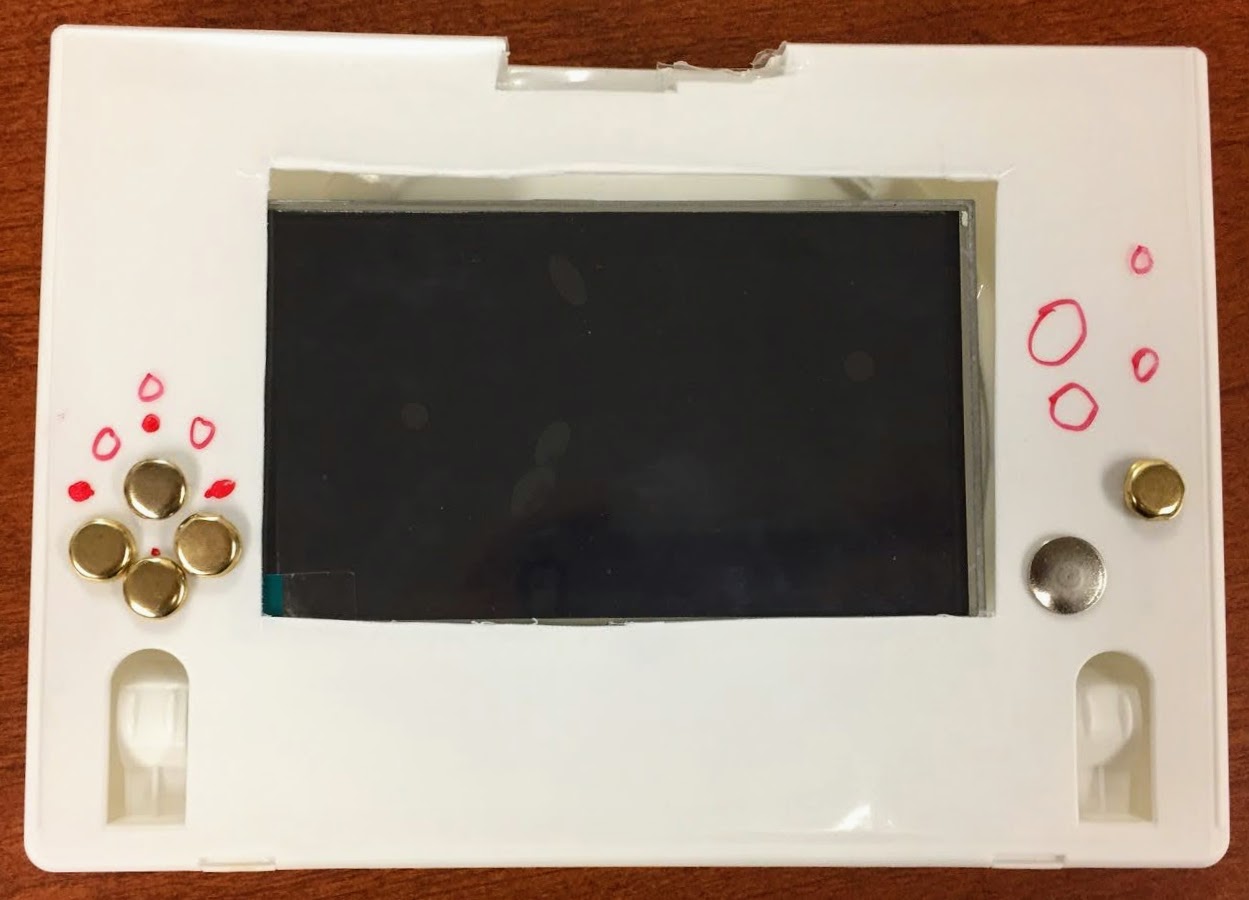
Prototype Device with Screen ↑
I used metallic pins for the buttons and initally just guessed on where to put them. The red circles and dots were where I asked users where the buttons would be most comfortable for them.
User Testing#
For my first user test, my device was not yet functional. I was able to get the screen to work, but the HDMI cable didn’t fit into the DVD cases, so I ended up testing the device as a controller for this iteration. You can see the user below holding the device while looking at the computer screen to play the game. Since the device was not yet functional, I mimicked the user’s movements to give the impression the device was working (this is aptly known as a Wizard of Oz test).
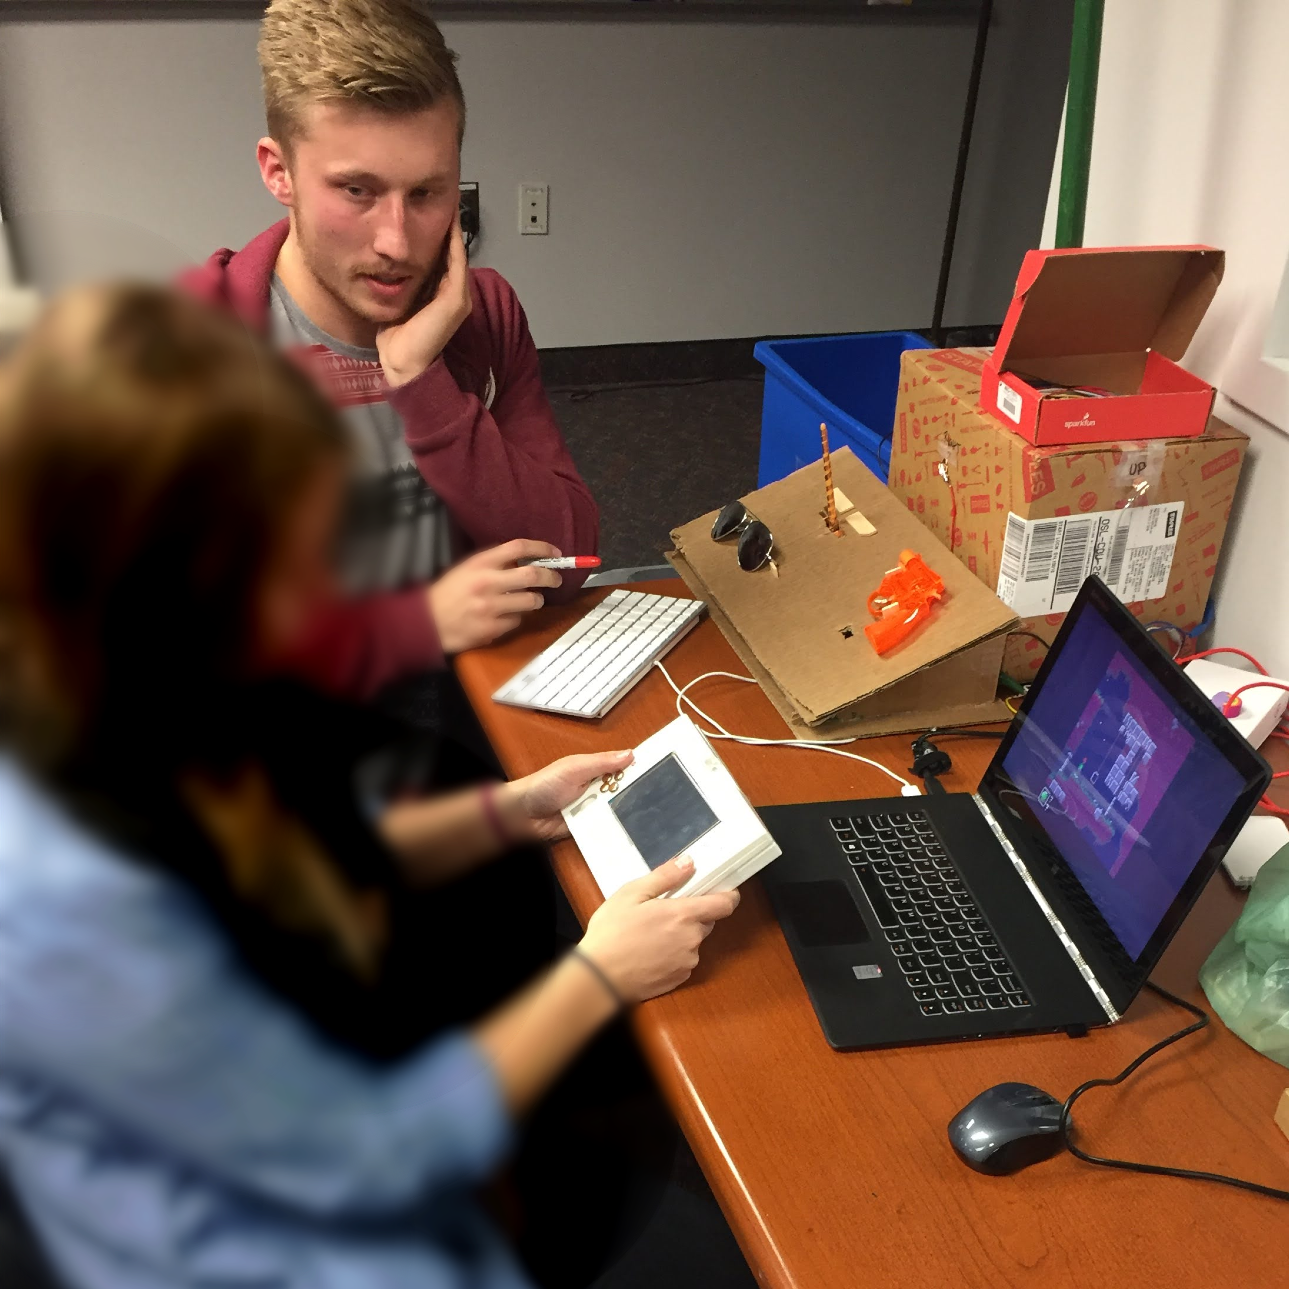
Wizard-of-Oz User Test ↑
With the project in this state, there were certain aspects that I could not test. I mainly focused on the buttons and button placement on the device, since my plan was to use this type of enclosure with the final version of the device. I asked participants if the device felt comfortable in their hands and if the button placement was ideal, and if not, to draw directly on the device where the buttons should go. I also asked about the buttons themselves, since they weren’t normal buttons and instead just pins that would be touch-sensitive.
What I Built#
Iterative design doesn’t have a definitive end or final product, in my view. There is always further testing and improvement possible. That is definitely true with this project. When I tried to fit all of the components in my prototype case, I realized it just wasn’t going to work. So, I moved to a roomy cardboard box so that I would at least have a functioning device, even if it was large and cumbersome.
Ideally, I would have done further user testing with this model and maybe even found a smaller case that would have worked even better. It’s a little difficult to get too small without going directly to a printed circuit board (like the Game Boy Advance) which would drastically reduce the amount of space needed. That being said, I am happy with how the project turned out given the time and monetary constraints I had.

The Latest Iteration ↑
Components#
Inside the device, you can see the makey makey I mentioned in the introduction. Alligator clips connected the makey makey to the backs of the pins. The circuit completes on this device since the bottom of the device is covered in conductive tape and then back to the makey makey (see the orange alligator clip in the image above).
Originally, I had planned to use CHIP to run the games, but ended up going with a Raspberry Pi Model B since I had the extra space and it’s a little more powerful. The software is called PICO-8 - you should definitely check it out if you haven’t heard of it. There are a ton of free games on it and it’s available on Windows, Mac, and Linux (including a Rasperry Pi version). One thing I love about it is that you can actually view and edit the code and visuals for the games on there, so you can really go crazy remixing games or creating your own.
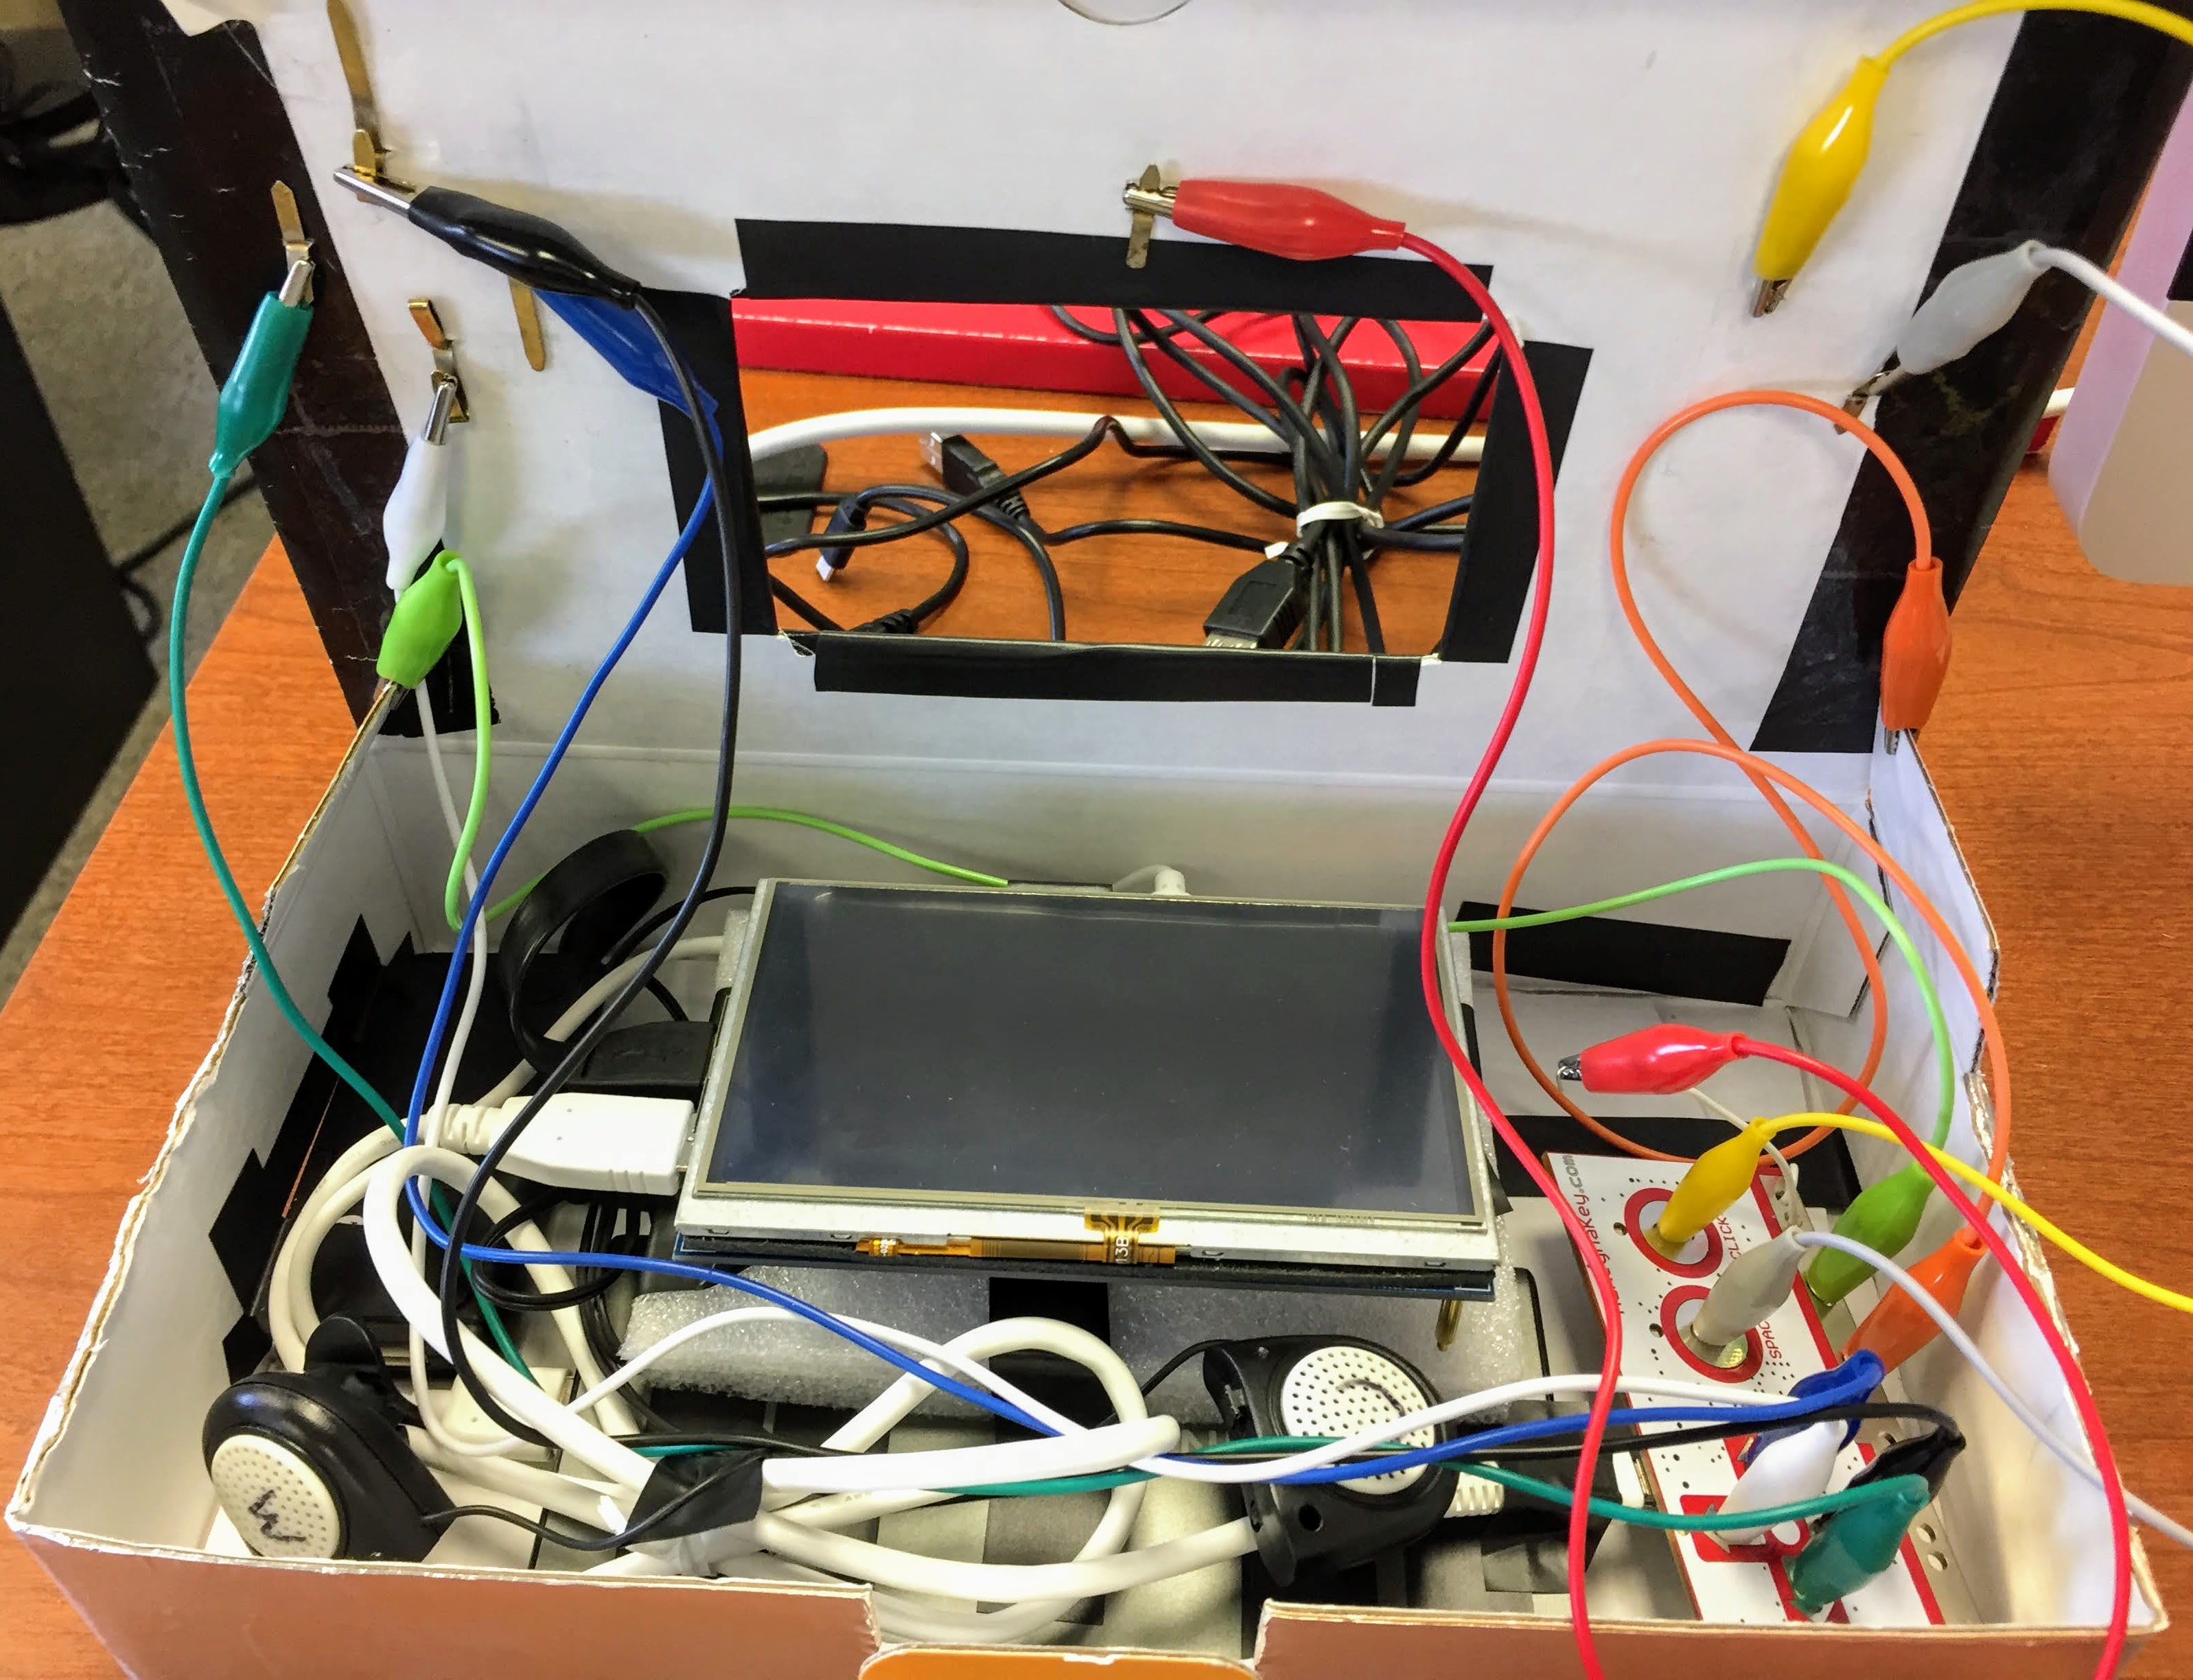
A Look Inside ↑
I also added a usb hub to the side of the device so that the user could easily attach a keyboard/mouse if needed. I also added some old speakers I had laying around inside of the device so that there was sound. It would have been nice to actually have cut out some spots for the speakers so that the sound wasn’t muffled and added a headphone jack, but it got the job done.
I ran the whole thing on a big mobile battery that is designed to be able to charge your phone multiple times. The battery life could have lasted weeks. Unfortunately, the battery size was one of the factors that caused me to go for the larger enclosure. I used some foam to support the Raspberry Pi and screen and hold them in place when the lid was closed. Finally, I added black wrapping paper to the front of the device to give it a more finished look.
Conclusion#
Looking back, there are a lot of ways this project could have been improved. Primarily, getting the size down would have been great. I also ended up not loving the buttons and that was generally the consensus among people that tested the final version. I was trying to solve a problem that didn’t need to be solved - there was nothing wrong with the original Game Boy buttons. I had just wanted to incorporate a new technology I had recently discovered into the project, which ended up being a valuable lesson. Just because you have a new technology you are excited about doesn’t mean you have to incorporate it into everything.
If I were to continue working on the project, I think nailing the buttons and getting the size down would have been the priorities, probably accomplished by designing a printed circuit board. Designing a 3D-printed enclosure would have been super exciting too and would have really made it feel like a finished product. As a proof-of-concept though, I think the project was a success. I wish I could have done one or two more iterations and really ended up with something super polished, but I am happy with it and I had a lot of fun figuring it all out.
After this project, I ended up being the Undergraduate Teaching Fellow for this course for the next few years. I was able to see many more exciting projects and help others through the iterative design process.
What do you think? Let me know at chase@chase-mortensen.dev.
Chase